Getting started takes just two steps: install the app and enable the app embed. After that, everything below is optional configuration you can set up whenever you need it.
Getting live takes two quick steps. Once the app embed is on, the Notify Me button appears automatically on your theme, no code, no developer.
Open the Alert Me! App Store listing, click Install, and approve the permissions. You'll land on the Alert Me! dashboard inside your Shopify admin.
On the dashboard, open the App embed card, choose your live theme, and click Activate. Toggle Alert Me! on in the theme editor and click Save. The Notify Me button now shows automatically on out-of-stock products in that theme.
If you run multiple themes, enable the embed on the one currently published to customers.


Everything below is optional, set it up in any order, whenever you need it. The defaults work out of the box.
Go to Customization → Settings (top right) to open Alert Settings, where you control which products qualify and how alerts are delivered.

Go to Customization to style the Notify Me button and popup to match your brand. The live preview updates as you edit.


Go to Customization → Notify Me Button and decide where the button appears across your storefront.


Want the Notify Me button somewhere specific on the product page, such as right under the price or below the variant picker? Add the Alert Me! app block and drag it into place. No theme code needed.
The app block gives you full control over placement. If you don't add one, the Notify Me button falls back to its default position automatically.


Go to Restock Insights to see demand and manage everyone waiting on a product.

On the Starter plan and above, reach shoppers on SMS and WhatsApp alongside email. All channels share one subscriber list. Go to Customization → Notify Me Popup to enable the channels, and Customization → Notification Templates to edit each message.
SMS and WhatsApp pricing depends on the destination country. See full SMS pricing and WhatsApp pricing.

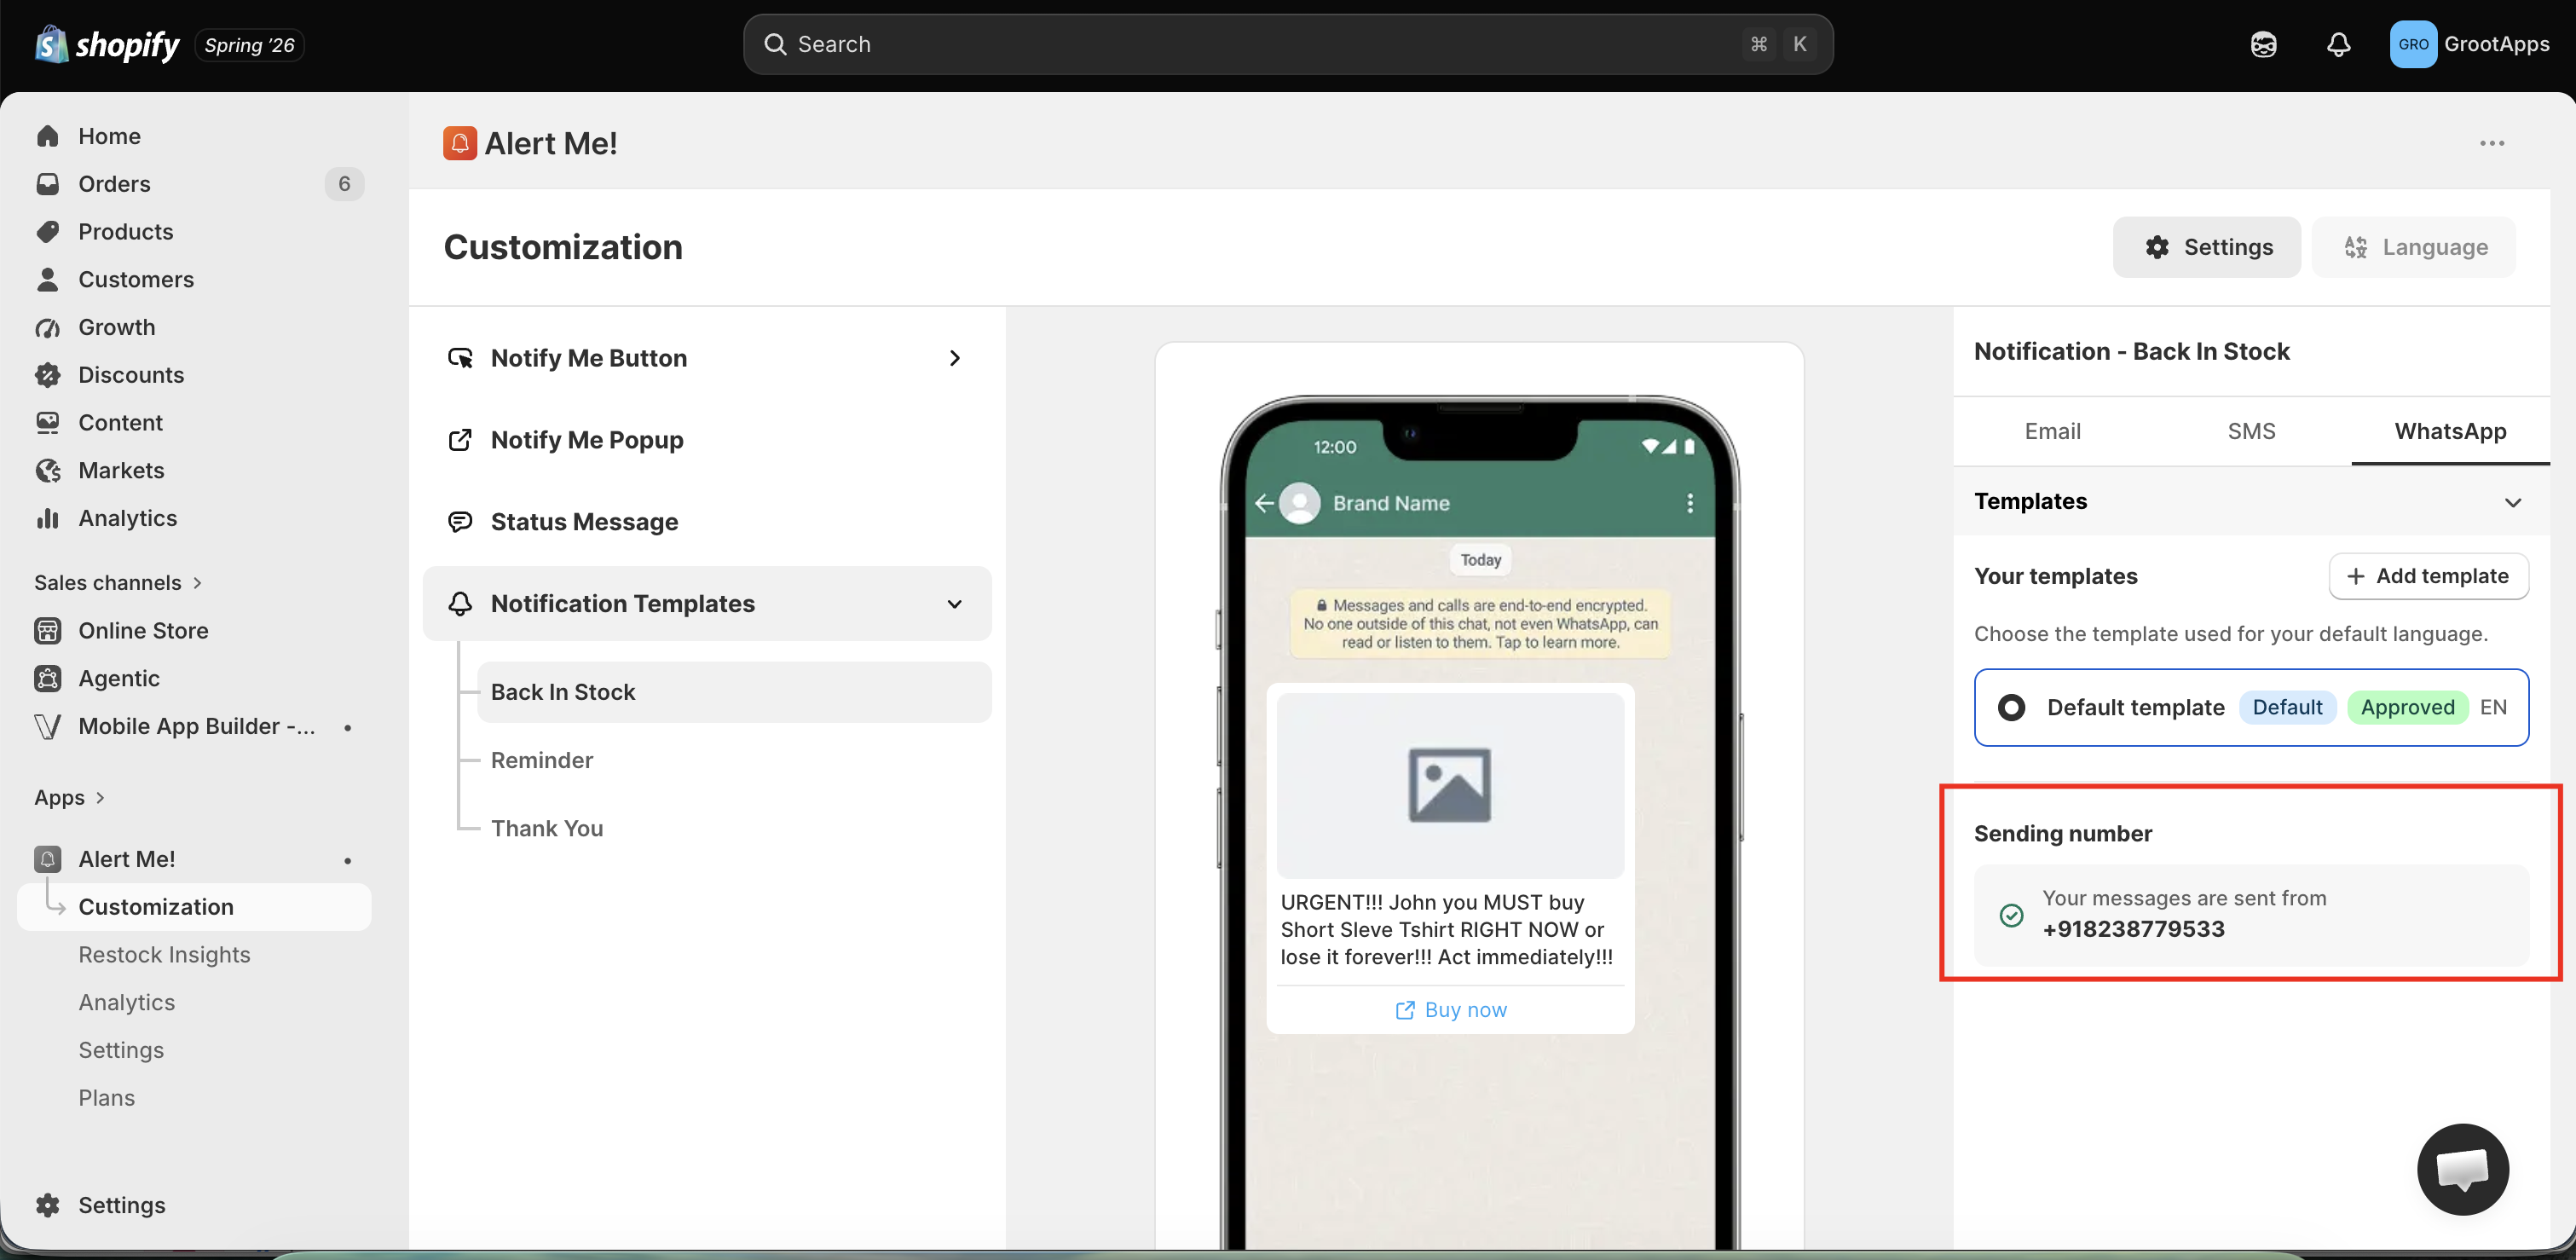
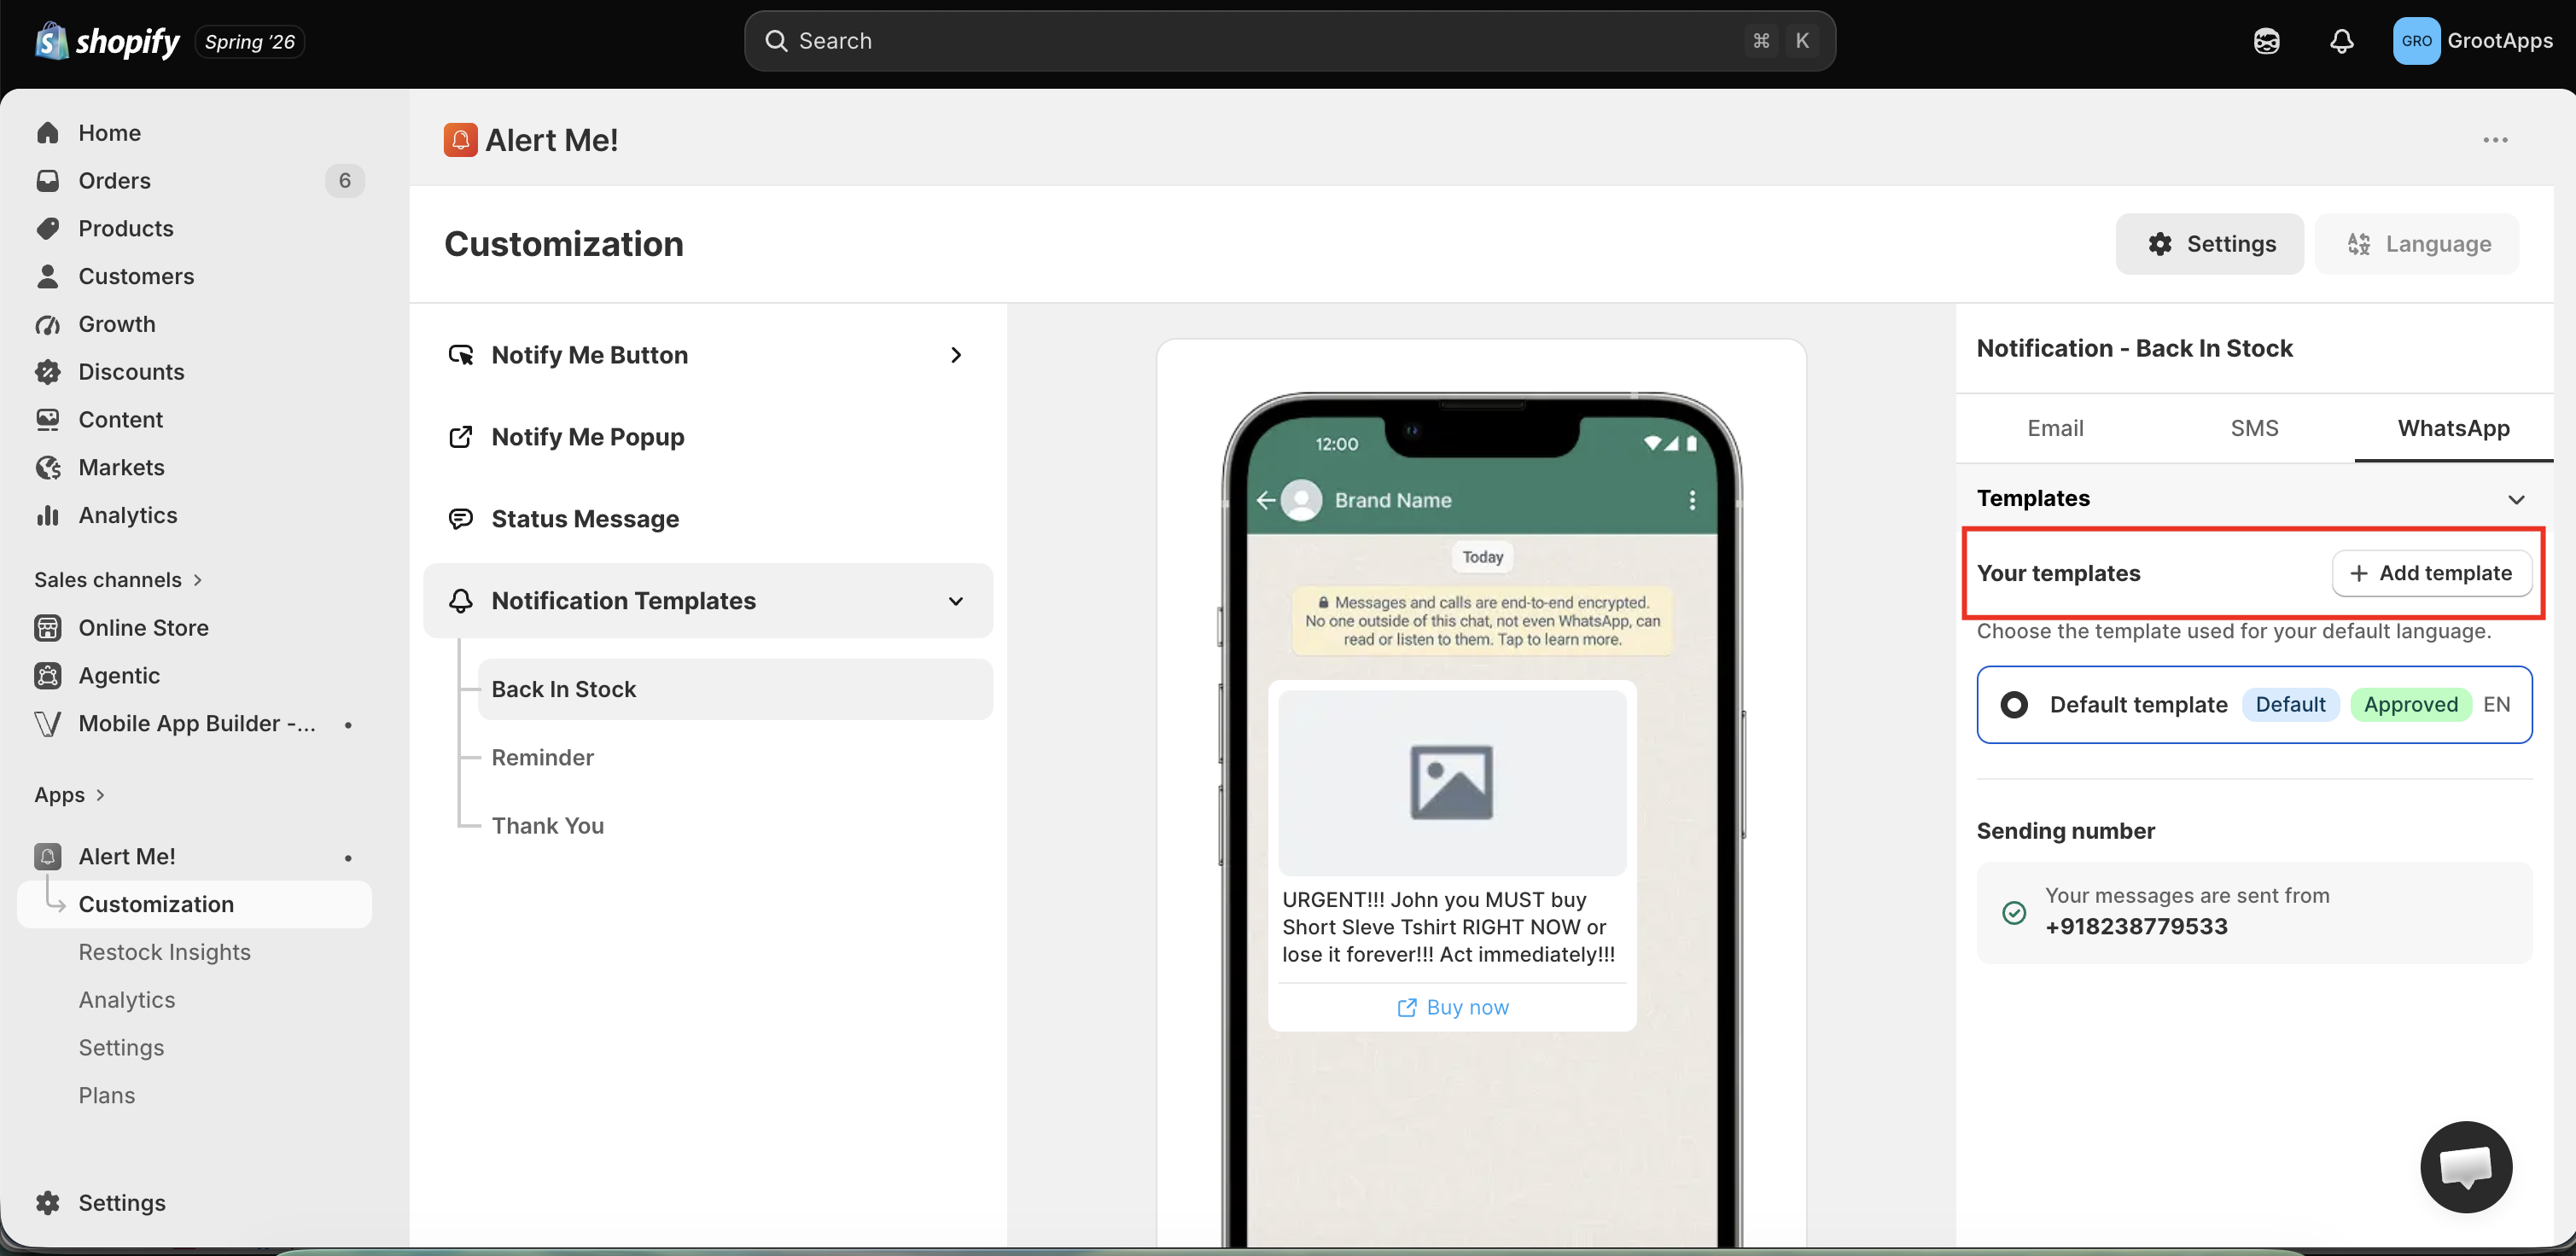
By default, WhatsApp alerts send from the shared Alert Me! number with the standard template. You can go further: connect your own WhatsApp Business account and build custom templates, so every alert arrives from your verified number, in your brand's voice. See the full WhatsApp templates overview →
Go to Customization → Notification Templates → WhatsApp, click Connect, and sign in with the Meta account that owns your WhatsApp Business number. Approve the permissions and pick the phone number to send from. Once connected, its status shows as Connected with your display name and quality rating.
In the same Customization → Notification Templates → WhatsApp panel, click New template. Write your message with dynamic variables such as {{customer_name}} and {{product_name}}, add the product image, and include a one-tap buy button. The live preview shows exactly what the shopper receives.
WhatsApp reviews every template before it can send, this usually takes a few minutes to a few hours. We submit it for you and show the approval status next to the template. Once approved, set it as the active restock template and all WhatsApp alerts use it automatically.
You need a WhatsApp Business account with an approved phone number (set up free in Meta Business Suite). Templates must follow WhatsApp's messaging policy, avoid promotional-only content in restock templates.
Selling in more than one language? Go to Customization → Language (top right) and translate every shopper-facing string, the button, popup, status messages, and notification templates.

Send alerts from your own domain (e.g. restock@yourstore.com) so emails look native and land in the inbox. Go to Settings → General → Sender Email.
DNS changes can take up to 24 hours to propagate. You can keep sending from the shared address until verification completes.

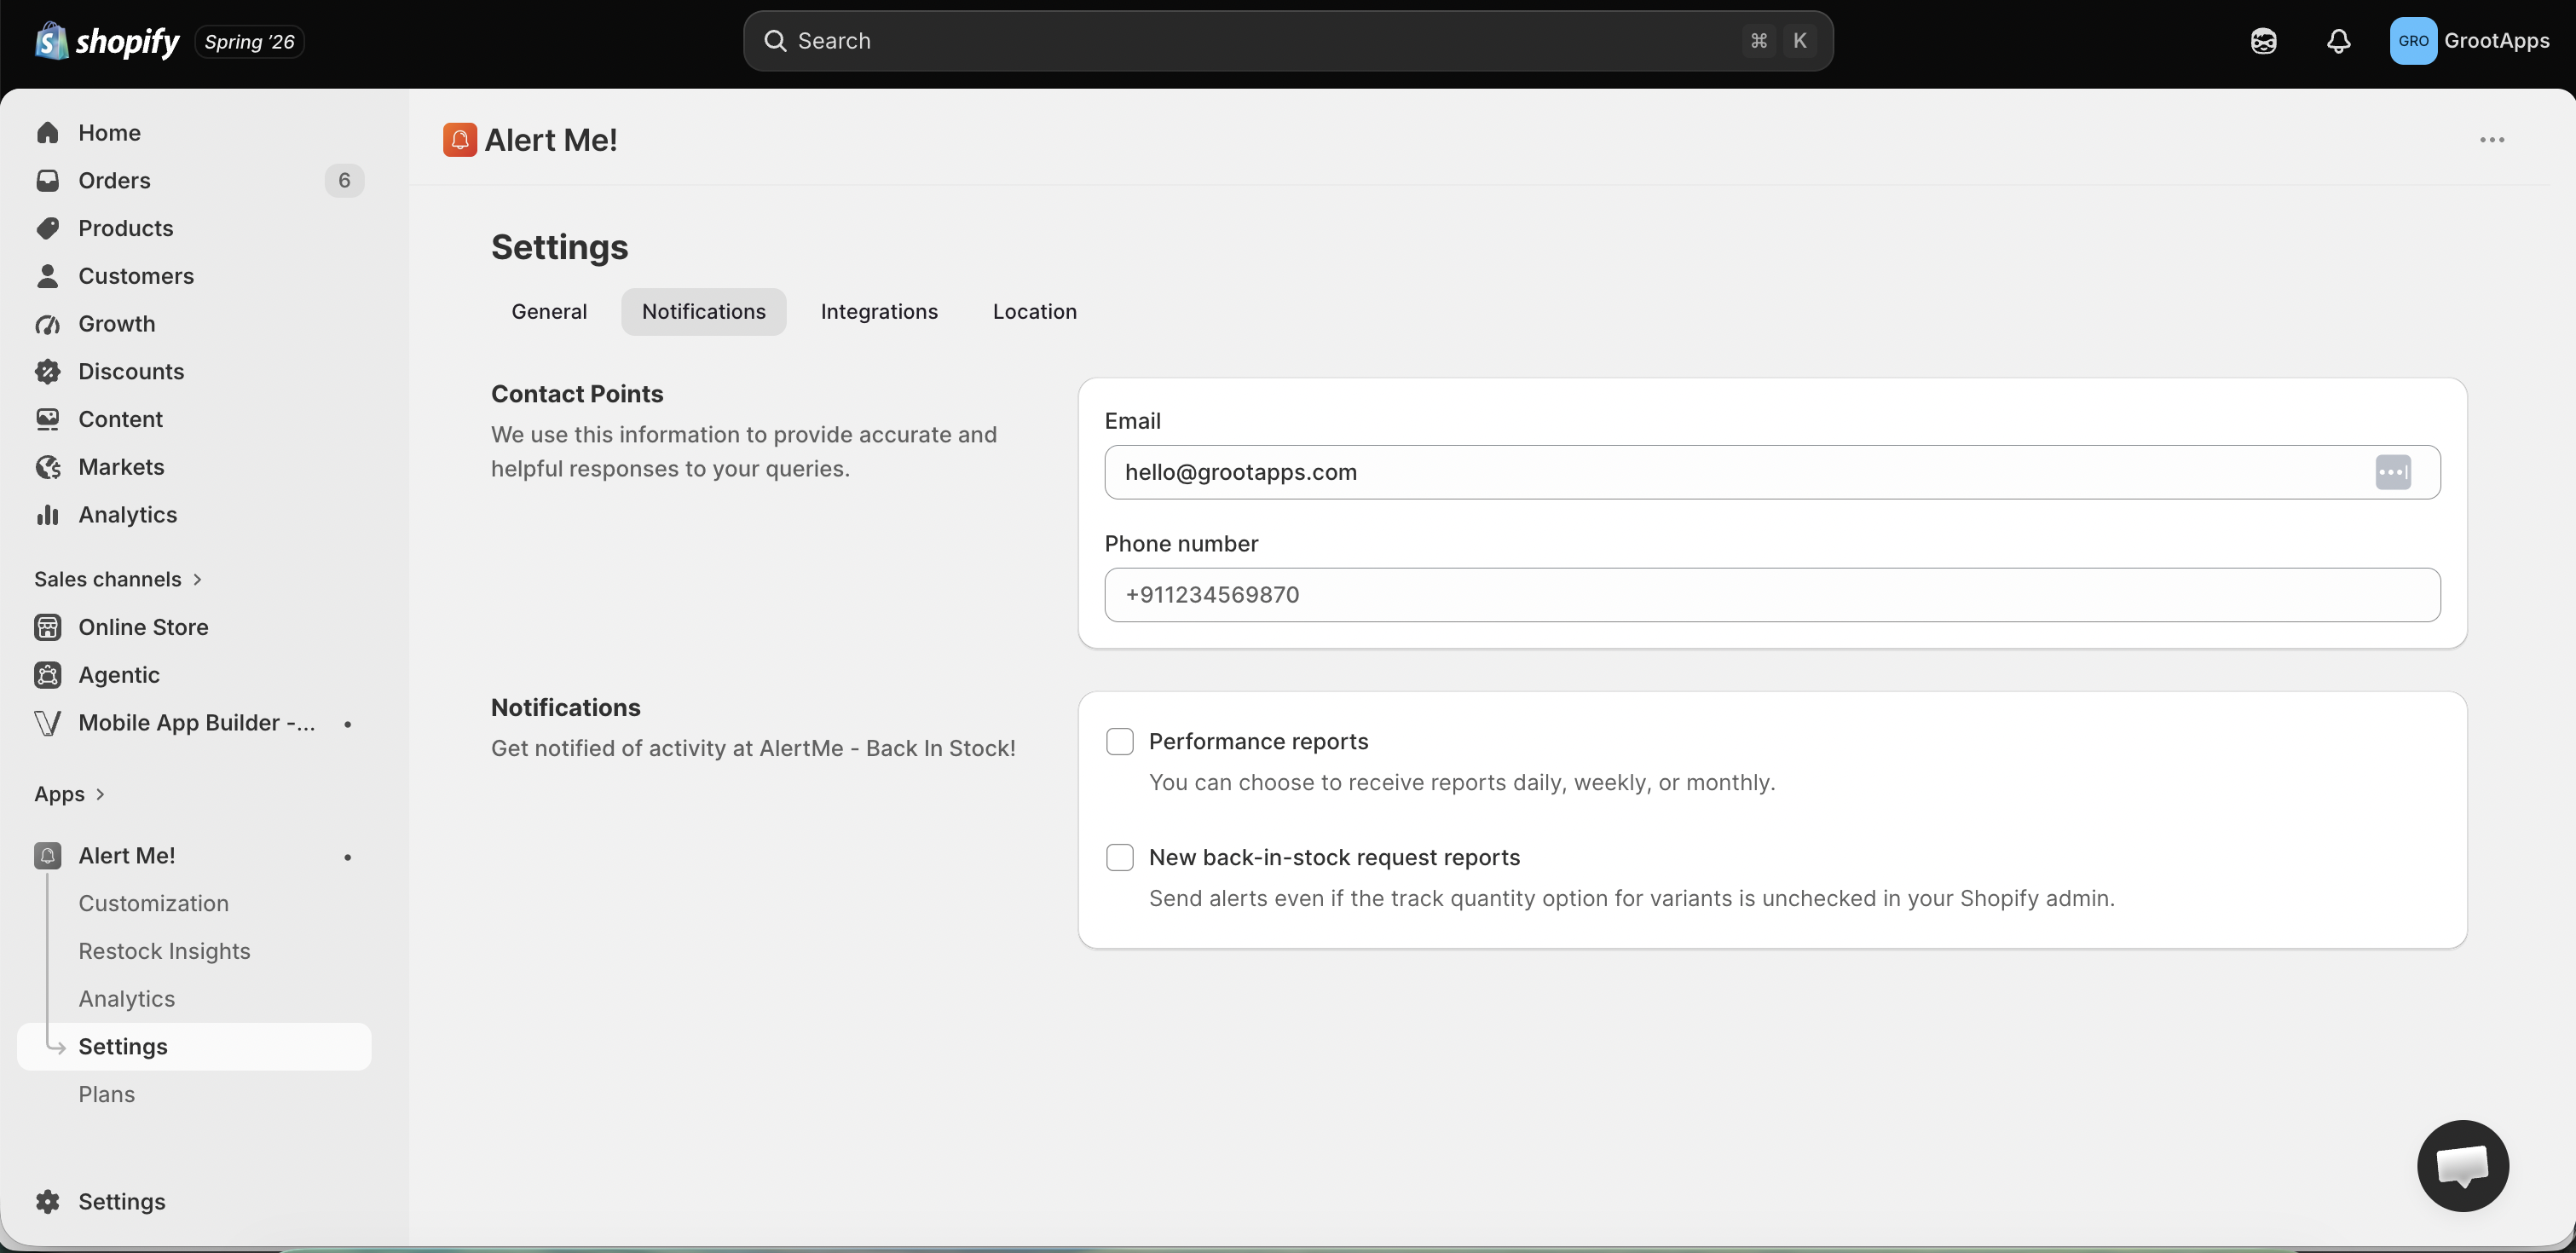
Go to Settings → Notifications and tell Alert Me! how to keep you in the loop, separate from what your shoppers receive.
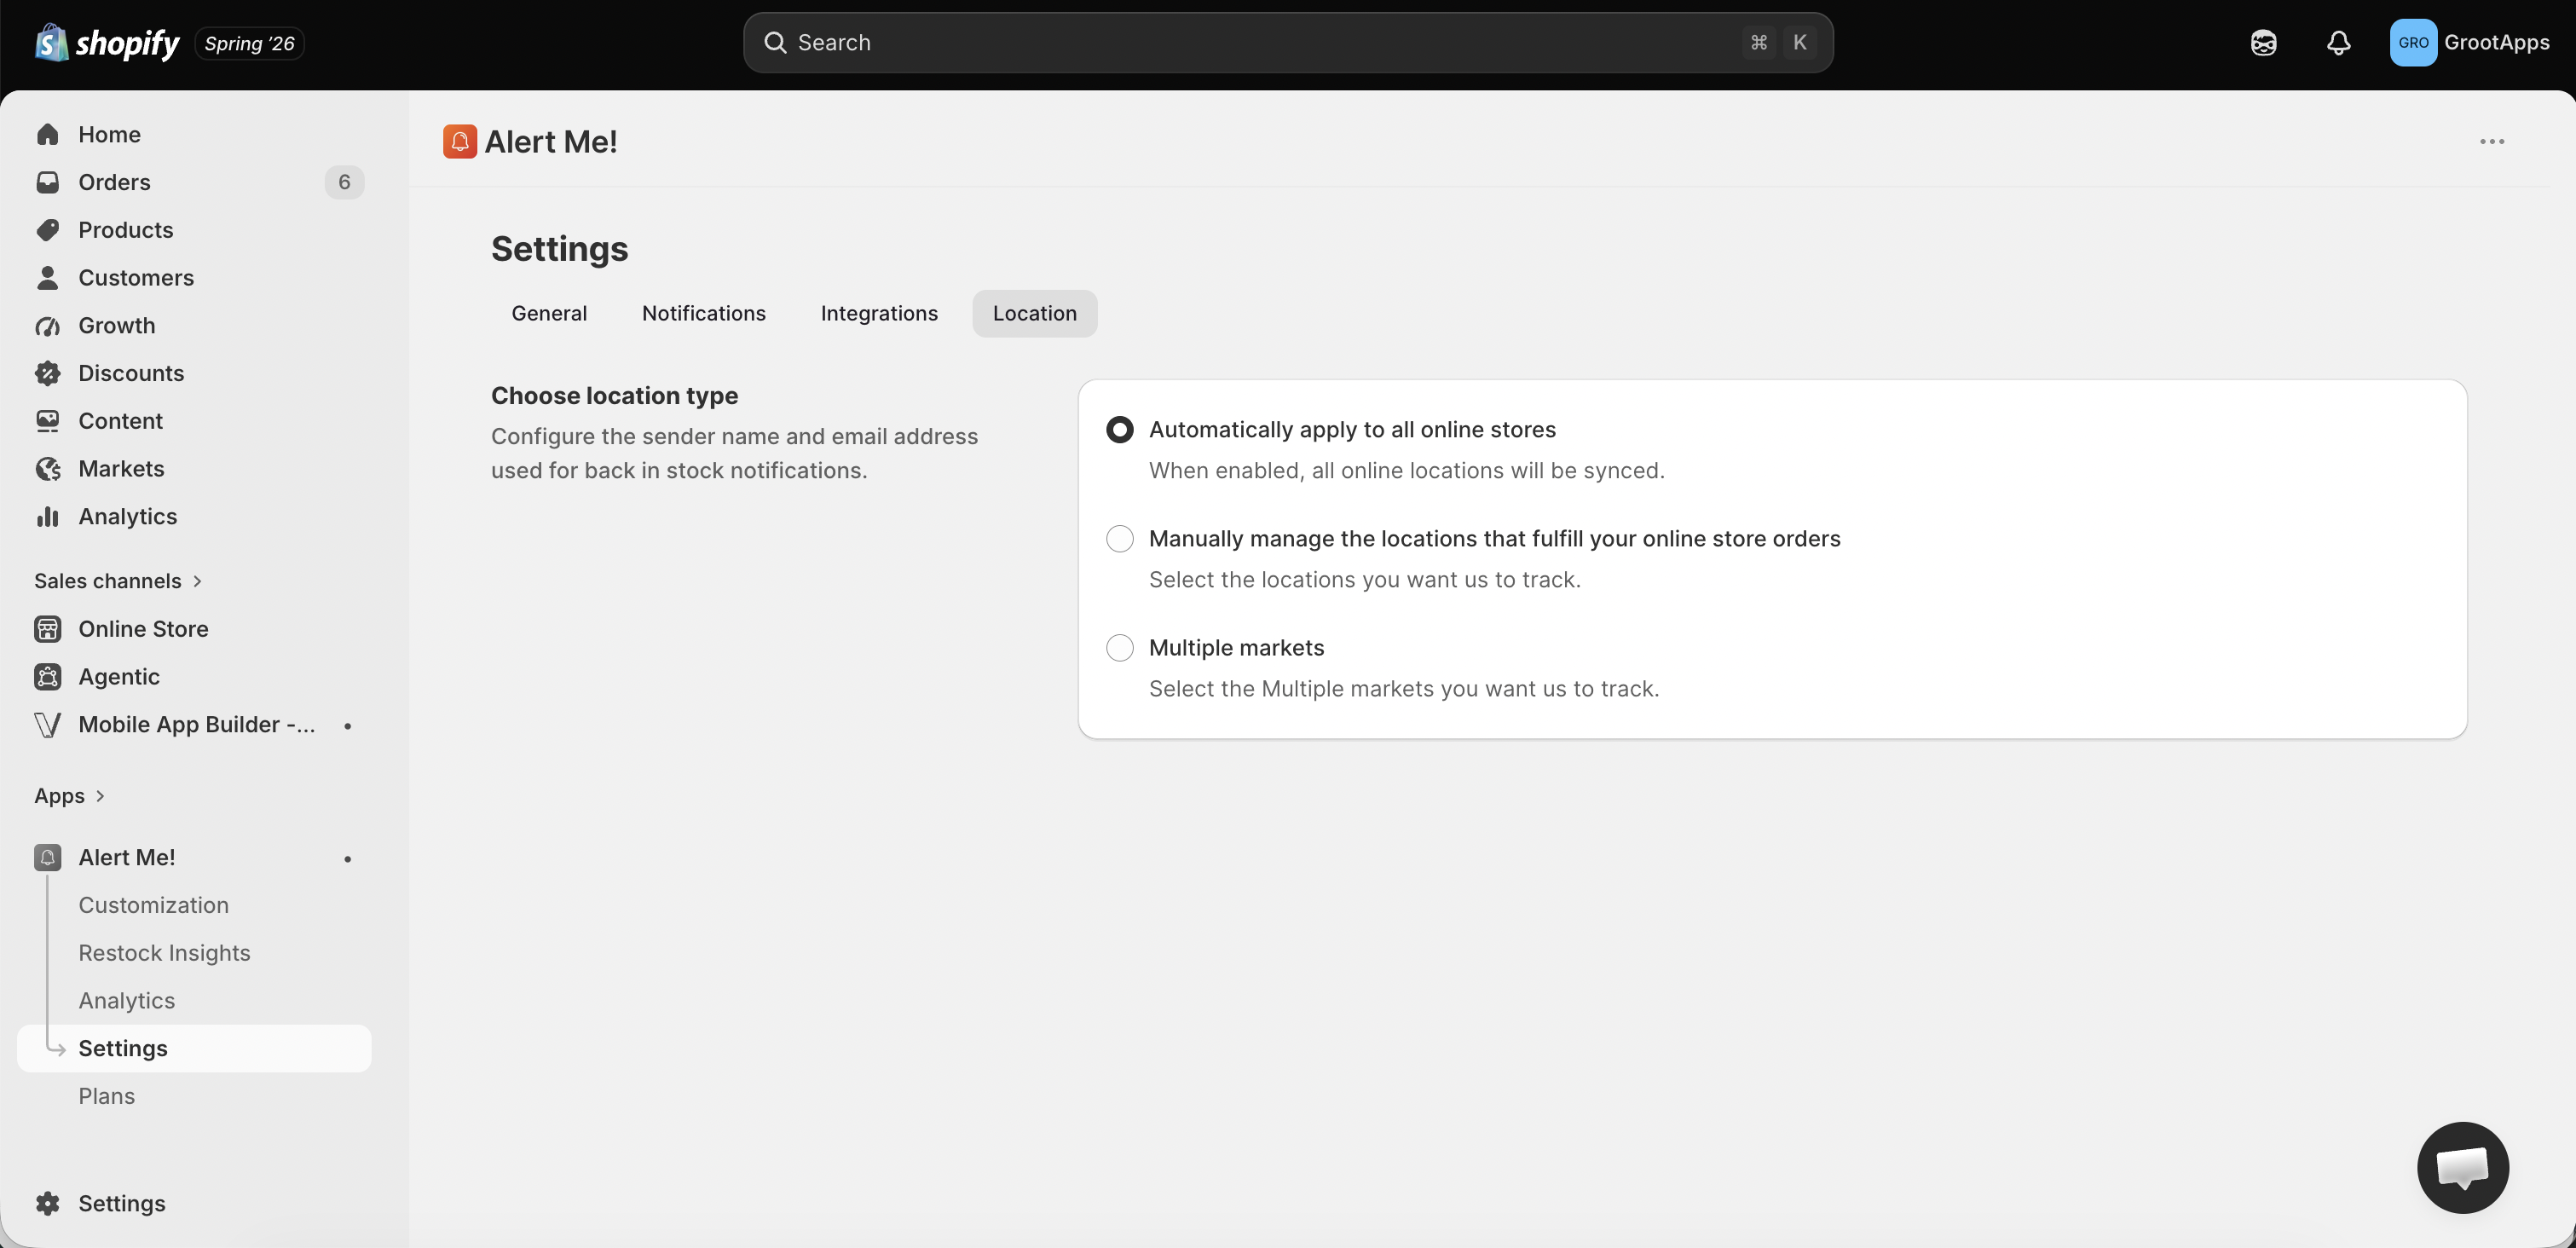
Selling from multiple warehouses or in multiple markets? Go to Settings → Location and choose how Alert Me! tracks your inventory. Alerts then fire based on the stock that actually serves your online store.
Sync subscribers and restock events into Klaviyo to trigger flows, segment audiences, and report alongside the rest of your marketing. Go to Settings → Integrations → Klaviyo.

No. Alert Me! installs through the Shopify app embed, so the Notify Me button and stock counter appear automatically. No Liquid edits, no developer needed.
Make sure the app embed is enabled on your published theme (Step 2), and that the product is actually out of stock with inventory tracking turned on. If it still doesn't appear, contact us and we'll take a look.
Yes. Smart-match adopts your theme's button style automatically, and you can override colors, text, and CSS in Customization.
Absolutely. We offer free white-glove setup on every plan, including the Free plan. Book a demo and we'll do it together.
Yes, on the Standard plan. Connect your WhatsApp Business account under Customization → Notification Templates → WhatsApp, build a custom template, and once WhatsApp approves it, every alert sends from your own verified number. See the WhatsApp section above or the WhatsApp templates page for the full feature tour.
The Free plan covers the Notify Me button, customization, reminder & thank-you alerts (up to 100 emails/month), locations, and translations. SMS, WhatsApp, a custom email domain, and Klaviyo unlock on the Starter plan ($9.99/mo). Unlimited email alerts, subscriber export, custom WhatsApp templates, and connecting your own WhatsApp Business account come with Standard ($19.99/mo).
